If you are already familiar with top rope belaying, the next belaying challenge is to learn how to lead belay. It is not necessary to know how to climb lead to be the lead belayer but it is useful so you can understand, relate, and anticipate the climber’s next move. At my gym, it is often that the team kids needed lead belayers during practice. Parents become volunteer belayers so we learn how to lead belay in order to belay our kids.
The prerequisite to lead belay is to be able to belay top rope. Please refer to my article “What is a Belay” if you are not yet familiar with top rope belaying. You will also need to be checked off by a staff member at your gym before you can do any belaying. If you are climbing in a gym, you will be required to be lead belay certified before you can lead belay in any gym. There is no one to check you when you climb outdoor so make sure you have taken a lead belay certification class before do lead belay outdoor. Safety is the number one concern when comes to climbing because your life is constantly on the line (literally rope line – pun intended.)
In this article, we will focus primarily on lead belaying. If you need more information, throughout the article I placed many links refer back to the available articles on my website to support you.
Gear for the Belayer
As a lead belayer, there are definitely more steps involved than top rope belaying. There are three pieces of equipment you will need to belay a lead climber. The fourth and fifth elements are optional.
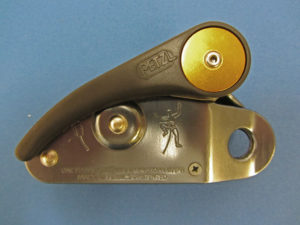
- Belay device
There are quite a few different belay devices available in the market. By this time you may already know what you like. If not have no fear, I have a list of articles here for you to check out and prepare yourself with belay devices: What is a Belay Device – Understand the Functions
Petzl Grigri Belay Device Review
Black Diamond Belay Device – Reviews of which One Works best for You
What is Assisted Braking Belay Device?
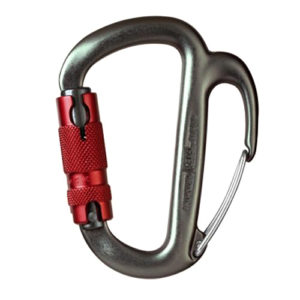
Black Diamond ATC Pilot Review – An Assisted Belay Braking Device - Carabiner for the belay device

Freino Believe it or not, a carabiner plays an important role in belaying as well. It connects the belay device to your harness and controls the position of your belay device. There is a carabiner called Fresno that also provides additional friction to the rope assisting you in lowering the climber. This works well especially when you are belaying a heavier climber. Check out my article on “Tips for Safely Belaying Heavier Climber“.
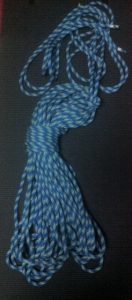
- Rope
Climbing rope is also necessary for lead climbing. Please check out my articles on “What is the Best Rope for Rock Climbing – How to Choose” and “Dynamic Climbing Rope Reviews” to find your rope if you do not have one already. - Helmets (outdoor climbing)
Helmets are commonly worn for outdoor climbing. In my opinion, it is a necessary item to keep your head safe from bumping, falling, etc. Not only does the climber wear the helmet so does the belayer. The helmet blocks the belayer from unexpected falling rocks. - Gloves (optional)
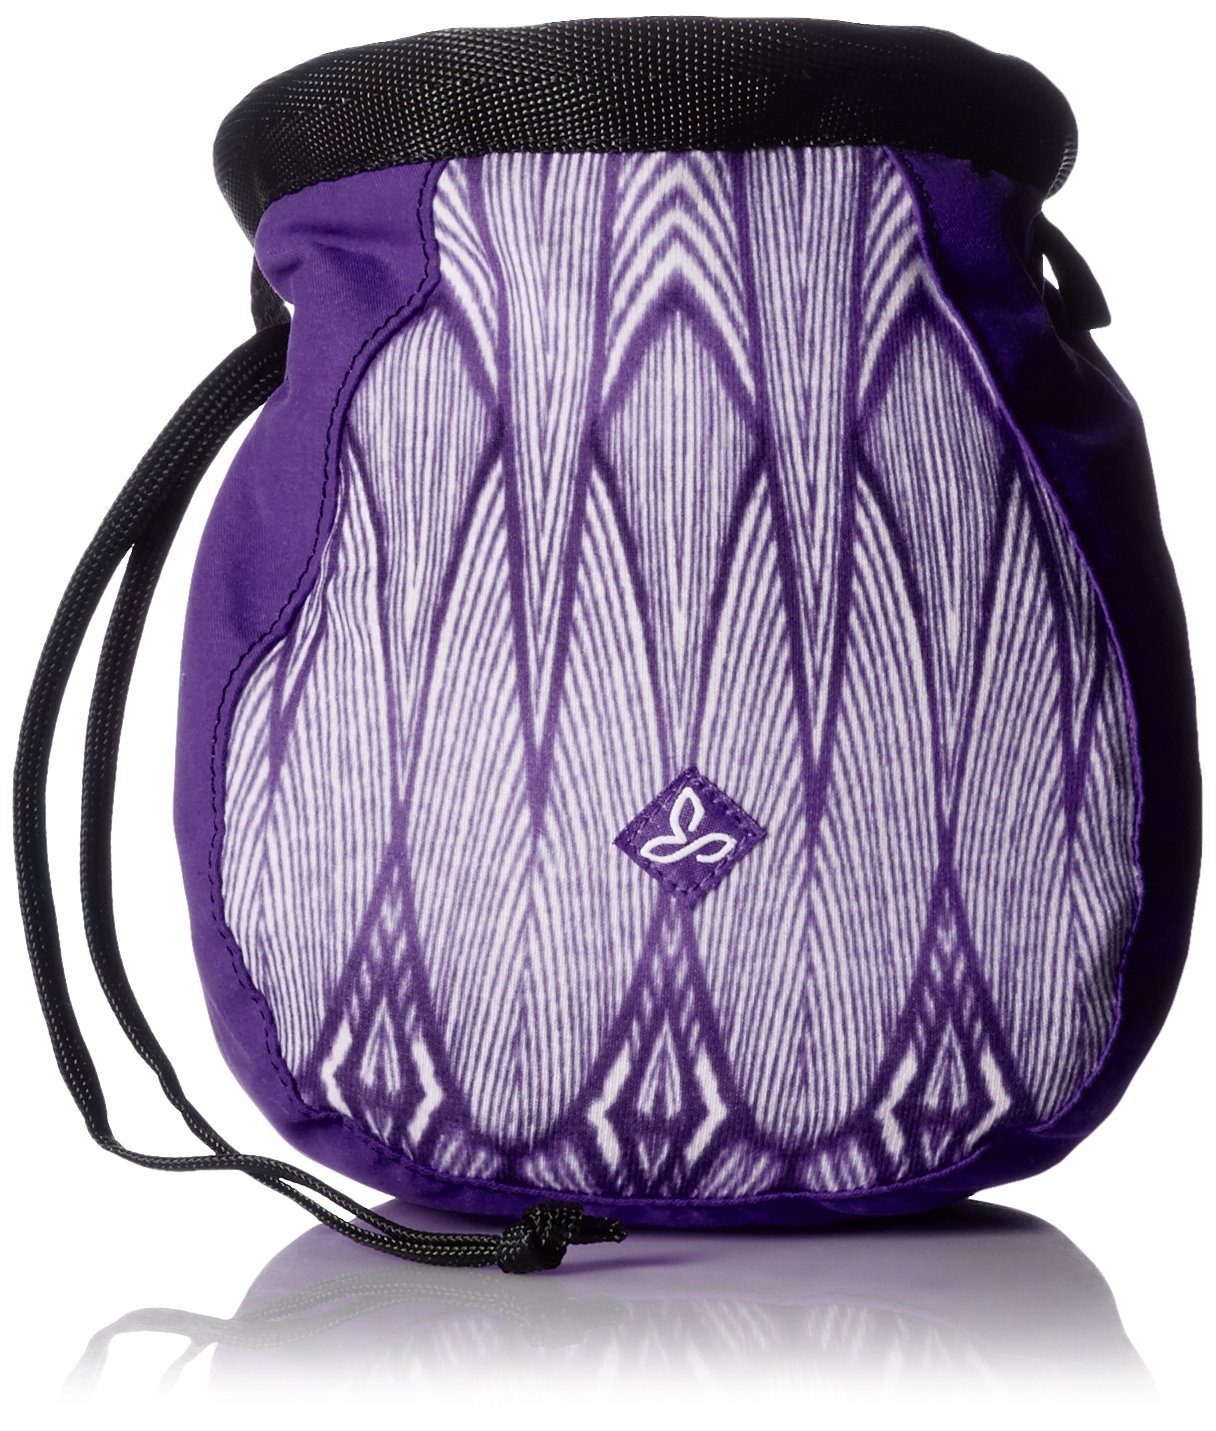
Last but not least is belaying gloves. This is totally optional. You do not need one. Although it is nice to have to prevent blister or rope burn from the rope friction when lowering the climber. I have several articles including reviews of different gloves for you to choose from: Rock Climbing Gloves – Do We Need Them?
Rock Climbing Belay Gloves
Fingerless Climbing Gloves
Setup
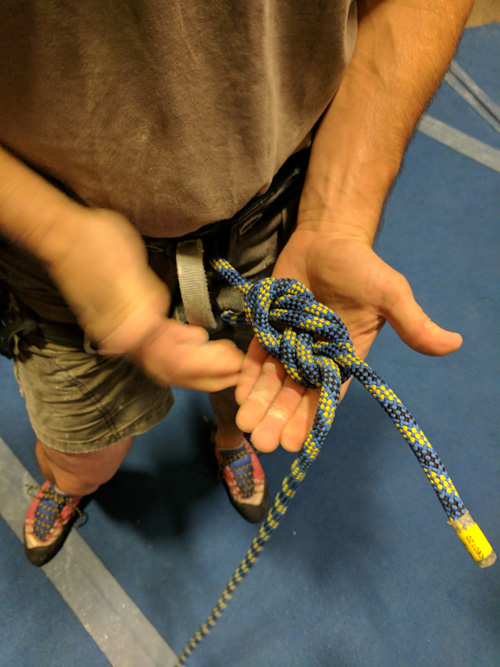
The climber ties into one end of the rope with a figure 8 knot. The belayer gives out some slacks and also tie into the rope.
The first and foremost step to any belaying is to make sure you are set up correctly. The belayer and the climber should check in with each other making sure the knots for the belayer are in placed properly and no loose articles are dangling in the way. Please read how to set up as a belayer and safety check in my “Learn to Top Rope Belay“.
The belayer’s stance is also very important. This helps with balance when he or she catches the belayer’s fall or lowering the climber. The belayer should have the feet shoulder-width apart with one foot in front in a small lunge position with knees slightly bent. The foot in front should be the foot opposite the brake hand. You also want to be closest to the wall so that when the climber falls you have the wall to brace yourself. Another reason is that you also want the rope to be as close to the wall as possible. The further you are from the wall, you have to release more rope making it a longer fall for your climber.
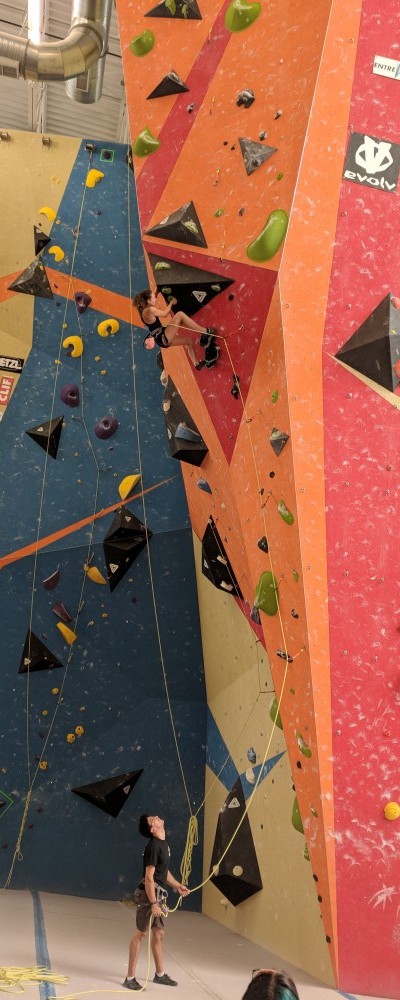
Rope Management
The biggest difference between top-rope belay and lead belay is having slacks. The lead belayer constantly feeds slack through for the climber to clip in while the top rope belayer constantly pulls in slacks when the climber climbs higher.
Rope Inspection
As a lead belayer, it is critical to keep in check with your rope at all times. Rope management is key. You want to flake your rope first making sure there are no knots, kinks, or any obstacles prevent you to feed the rope to the climber. It also gives you an opportunity to inspect the rope status to see if there’s any fray, rip, or irregularity in the rope. The process of flaking is to transfer the rope from one end of the rope pile to another pile. This process straightens out the rope. Also, keep the rope in a nice neat pile close to you when belaying.
How much Slack?
At the climber’s first few clips, be prepared to spot the climber if needed so that he or she will not land on his or her head when fall. The first few clips can be tricky in managing the rope and being prepared to catch the climber. The climber is not yet high enough where he or she can fall and land safely. Always have the brake hand ready and at the same time feed the rope through the belay device so that the climber has enough rope to clip into the quickdraw. You want to be able to keep a balanced amount of rope available for the climber not too tight where you can accidentally pull the climber off the wall or too loose then the climber will fall much longer. if the rope is straight up out of the device then you have the rope too tight. If you have the rope droop below your device, you may have too much slack.
Belay feeding slack
Constantly giving slacks by feeding the rope up with your guide hand. When the climber is ready to clip, pull the rope slack for about one to one and a half arm’s length. Bring the guiding hand down close to the belay device and simultaneously slide your brake hand down to your side and away from the belay device to bring in more rope through. As you feed the rope up with your guide hand, your brake hand will come in closer to the belay device. Repeat the process for giving slacks as needed. This helps the climber with enough rope to clip into the next quickdraw.
Stay Alert
Be alert and be aware of climber positions at all times. Are they z-clipping or back clipping? Please see the lead climbing indoor article for more details on clipping. Where are the climber’s feet relative to the rope? A belayer can call out to help prevent the climber from snagging the rope when fall. The belayer’s job is to keep the climber safe at all times.
Below is a great video by Planet Granite on how to flake and coil a rope:
Tip of the Week – How to coil and flake a rope from Planet Granite on Vimeo.
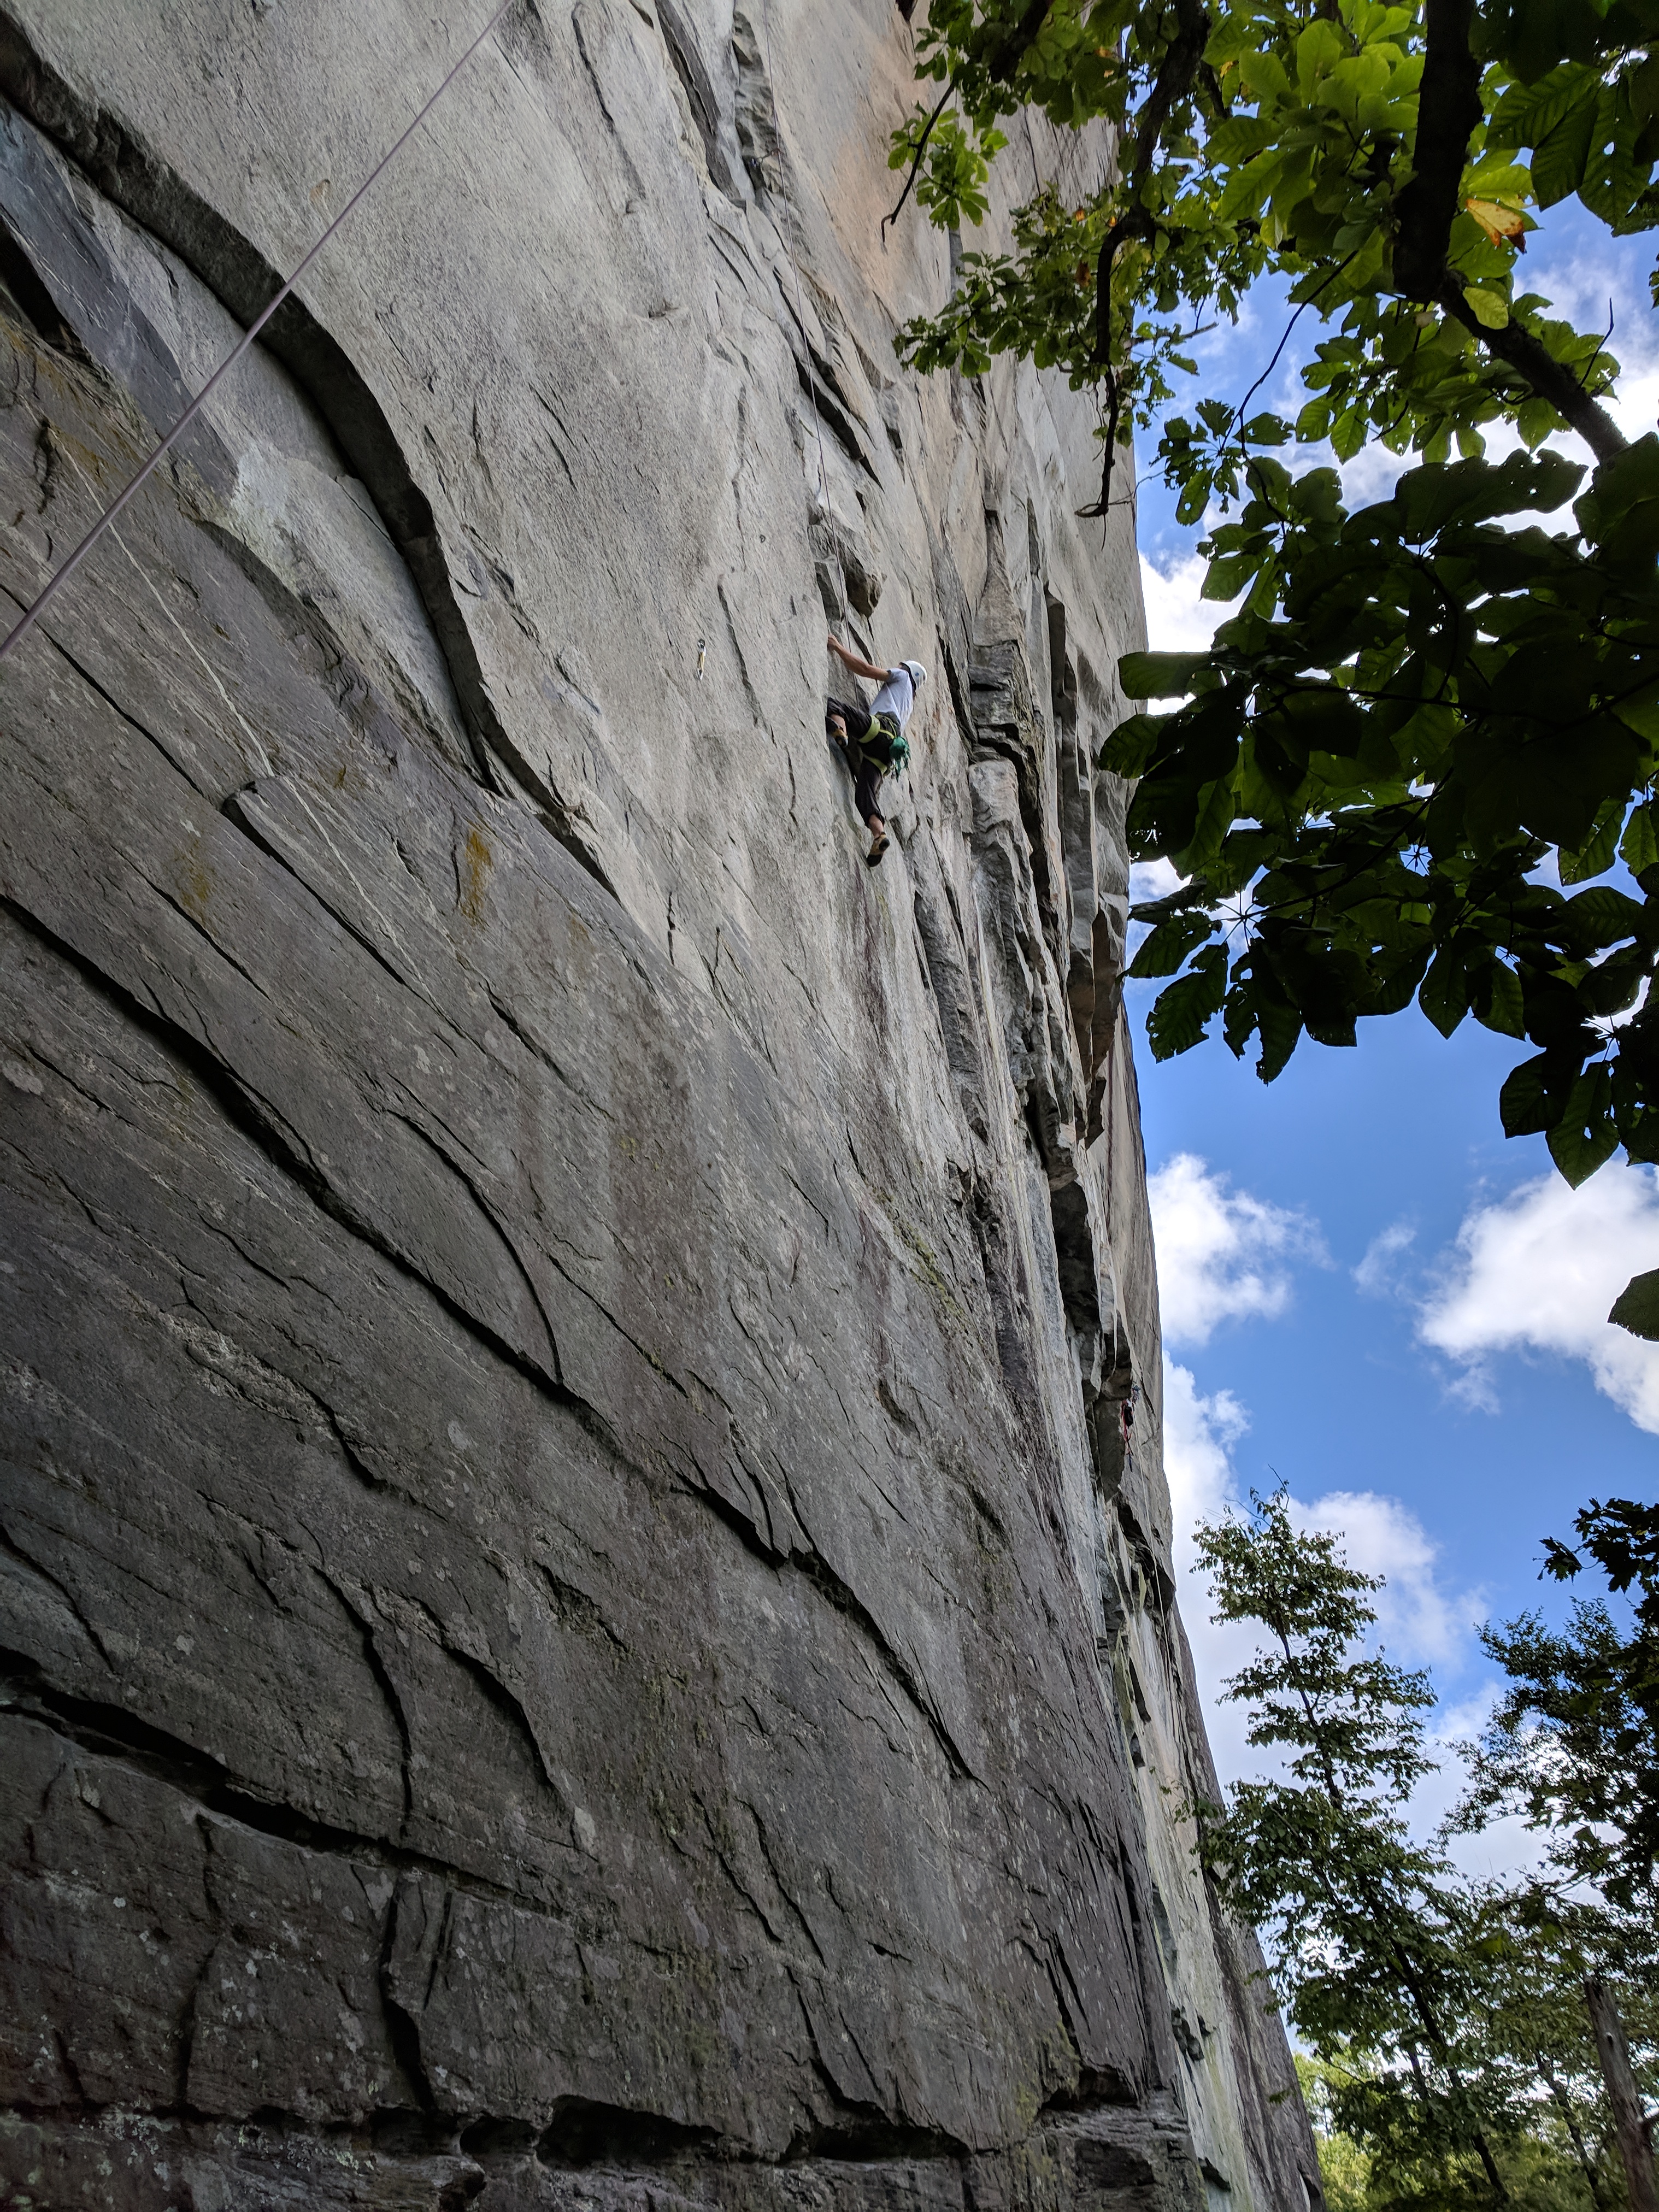
Catching a Fall
Another difference between the lead belaying and top rope belaying is the fall distance. The lead climber falls further. They fall twice the distance above the last clip-in point.
When the climber falls, the force and the acceleration is fast and quick. The belayer may be pulled up off the ground. If you are a lightweight belayer, you will be pulled off the ground for sure. Be prepared to fly if necessary.
Everything happens very fast. You must react quickly. Be always near the wall where the climber is climbing. Pull your brake hand down and tightening your grip. Allow the force to pull you into the air. Bend your knees and brace your feet against the wall as if you are in a sitting position to stop the fall. This gives you the leverage to hold the climber in the air.
Here is a great video created by REI on how to lead belay:
Communication
Communication between the climber and the belayer is very important. Make it brief and precise with only a few words at a time. Please visit my article “Learn to Top Rope Belay” for the different commands and terminologies. We want to be able to know what each other intentions while climbing to generate the best outcome.
It is hard to hear the other person sometimes when they are high up. Make sure to shout down or up with your partner’s name and the command to avoid confusion if there are more climbers in the area.
My Final Thoughts
Belaying is an art within its category. It takes focus and full concentration to lead belay because the climbers rely on you for a safe catch when they fall. It is true that you do not have to be a lead climber or climb a 5.10 or higher to be a lead belayer. However, it is helpful in order to support your climber.
I had an opportunity to volunteer as a belayer at the National Climbing Competition at Kennesaw 2018. It was definitely an interesting and fun experience. I learned lots. I documented my belaying experience. If interested to know more, please read
“Indoor Rock Climbing Competition – What Does It Take to be a Belayer at National Level“.
The belay requirements at competitions are strict and can be stressful. All eyes rest upon you to belay the climbers safely and at the same time not aiding or hindering the climber in any way. No pressure. I survived valiantly for my first time. Perhaps, I shall return to help again the following year.
Remember those optional belay gloves that I mentioned at the beginning of the article? They do come in handy at these competition sessions. Your hands get rubbed raw after two to three hours of belaying. Your neck also gets stiff for looking up constantly. The belay glasses are another optional item that would assist relief in the neck.
Anyhow, I am rambling on. I hope you have learned a thing or two after reading this article about lead belay. If there are any questions or feedback, please leave them for me in the comment box below.